How to Do a Manicure at Home: A Step-by-Step Guide
Many of us have been there. We are coming up on an important event, such as a party, a job interview, and our nails look awful. Worse yet, we don't have time for a spa appointment. Fortunately, at-home manicure steps can make your nails look great in the comfort of your home.
Why are Manicures Important?
Manicures aren't only about looking great for the next big occasion. They also promote nail health in the following ways:
- Prevent Infections: Our hands are exposed to bacteria every day. A manicure cleans away bacteria to prevent infection.
- Boosts Blood Circulation: A manicure improves blood circulation in the hands, reduce pain and swelling, and promote joint mobility.
- Supports Cuticle Health: The cuticle protects the rest of the nail from bacteria and infection. Manicures clean and trim the cuticle, ensuring it stays healthy.
- Stress Relief: Many people find manicures to be soothing and stress-relieving.
- Boosts Self-Confidence: Great-looking nails help you feel better about yourself. They can improve your outlook on life.
At Home Manicure Steps
Ready to get started? Here are our thoughts on how to give yourself a manicure to ensure excellent results.
1. Gather Your At-Home Manicure Tools

The following items are integral to a nail care routine at home:
- Nail Scissors
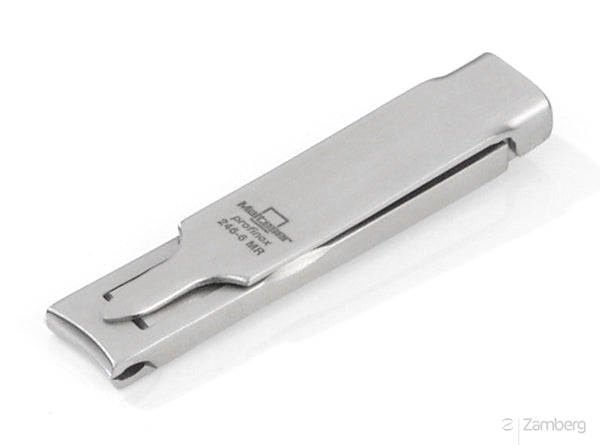
- Nail Clippers
- Glass Nail File
- Glass Cuticle Pusher
- Tweezers (optional)
- Nail Polish, Base Coat, and Top Coat (if desired)
2. Push Back Your Cuticle
Next, you should push back your cuticle to ensure optimal nail health. Here's what the process involves:
- Soak your hands: Set your hands in warm water for a few minutes to soften the skin around the nails. If necessary, apply an oil or cuticle remover to break down the dead skin further.
- Use the cuticle pusher to push back the cuticle gently. You can also use small circular motions to remove dead skin.
- Wipe away excess skin debris with a damp cotton pad. Rinse your hands.
3. Trim Your Nails
You may want to trim your nails to ensure they are all the same length. A scissor is ideal for this task as it allows you to shape your nails as you go. However, a clipper may be a good starting point if you want to take significant length off your nails.
Here are some nail-trimming home manicure tips:
- Begin at the corner of the nail and work your way across to the other side.
- The process reduces the risk of breakage and ensures nails are cut evenly.
- Nail Scissors
- Face the blade's curve toward your nail and gently cut from one side to the other. Cut in one smooth motion to prevent snags.
- Ensure the nail is cut all the way through and falls off. You shouldn't have to pull the nail off, which could cause damage
4. File Your Nails
After your nails are cut, you may discover some ragged edges. The file will remove these edges, and further help shape and seal your nail.
There are various types of files on the market, but glass files are preferred. They are gentler on nails and won't cause splitting and breaking. Glass files are also nonporous, making them easier to sanitize and highly durable.
Here are some manicure-at-home tips that ensure you get the perfect file.
- Choose the desired nail shape. Common shapes include round, almond, coffin, stiletto, oval and square.
- Hold the file perpendicular to the nail and begin filing. Towards the end of the session, you may curve the file to achieve your desired shape. However, you should hold off on doing this until the last minute to avoid weakening the nail.
- File from the side toward the center. This motion will help you achieve a rounded look. If you prefer square nails, file straight up, then round the nails slightly on the sides to smooth them out.
- After completing the first nail, move on until every nail has a uniform look.
You may also use a curved guided moon file for optimal ergonomics.
5. Paint Your Nails
If you are going for a glamorous, polished appearance, you may choose to finish your nail care routine at home with a coat of polish. These steps will ensure a neat, put-together appearance.
- Apply a base coat: Though unnecessary, a base coat can help the nail polish adhere to the nail. It can also strengthen weak nails. Apply the base and allow it to dry.
- Apply nail polish: Place a drop of nail polish at the base of your nail just above the cuticle. Then, swipe from the bottom to the tip of the nail. Allow the coat to fully dry before applying the next layer. Repeat until the nail polish produces a solid appearance.
- Clean Mistakes: Use a nail polish remover pen or dab cotton soaked in nail polish remover to clean up nail polish that may have gotten onto your skin.
- Apply a topcoat: A topcoat is also optional, but it will make your nails look shiny and seal in color.
Our experts at Zamberg believe this is the best way to to do nails at home. If you do nothing but follow these steps were confident you will be pleased with the results.
Choose the Best at Home Manicure Kit
A professional manicure at home will look its best if you use the right tools. That's where Zamburg comes in. We offer the best at-home manicure kits, ensuring terrific results.
If you are looking for a small set to cover basic nail care needs we would recommend something like this: 4 piece nail care kit
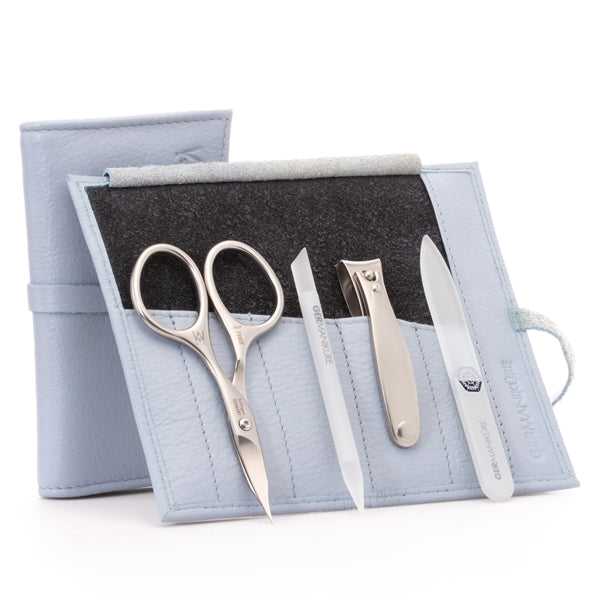
If you would like something a bit more complete this 7 piece manicure kit has a few additional tools that will allow you to broaden your at home self care practice.
Our kits feature GERMANIKURE products, which are known for their high-quality stainless-steel craftsmanship. Your nails will look their best, boosting your self-confidence and ensuring you make a great impression.
Leave a comment